Pet Information: Dividing Fish Tanks
Below you'll find general information for dividing fish tanks, including pictures of my divided tanks.
Dividing a Tank
Note: No matter what size tank you decided to divide, each fish should have at least a gallon of water, and horizontal space is key. Having two gallons of room for your fish in a narrow-tall space is not the same as having two gallons in a cube or wide-short space. Fish mostly swim back and forth, not up and down. The water should also be forced to flow through all sections; have the filter inflow on one end and outflow on the opposite side of the tank. When dividing a tank in half this is easy - a hanging filter can be placed in the middle with the inflow tube in one section and the water return in the other. Dividing a tank into more sections is harder, but is discussed below.
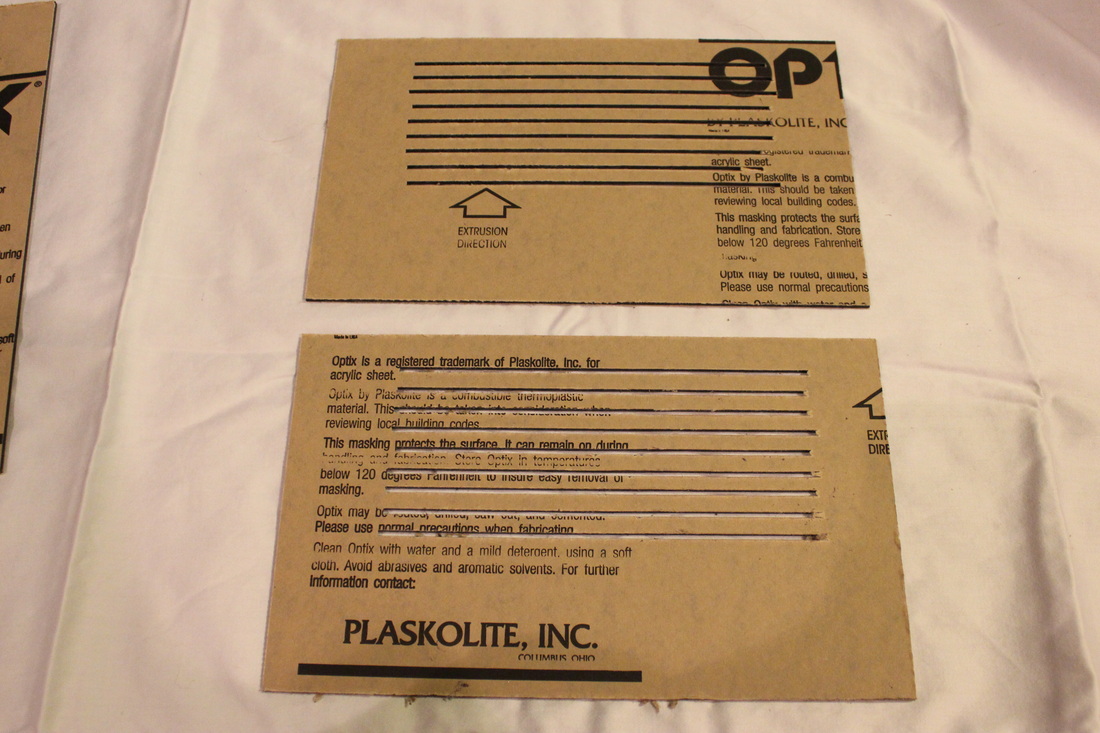
The easiest way to divide a tank is to buy a prepackaged divider at the store, and slip it in your tank. Unfortunately, these dividers are flimsy, may not fit your tank properly, and are easily moved by many fish. Due to this, I decided to make my own custom dividers out of cut acrylic sheets. I got mine from http://www.usplastic.com/catalog/default.aspx?catid=442&parentcatid=443, acrylic sheets are available in many sizes and colors. I picked black acrylic, along with the black substrate, and the black version of the tank to have a unified look (the tank also comes in white). You can use clear dividers (but add extra hiding places if you do), or any other color, and they even sell flourescent acrylic sheeting. |
Basic Requirements
TANK SIZE: No less than 1 gallon for a single fish*, with a filter. More space is recommended; it will allow for a more stable temperature, proper nitrogen cycling, less maintenance, and a more active fish.
*Goldfish and koi need at least 2 gallons per inch of fish COVER: Make sure your aquarium has an escape-proof cover, many fish have been known to jump. It should fit snugly onto the tank with an area for the filter, heater cord, and any airline tubing to enter. TEMPERATURES: Aquarium temperatures should be monitored closely and kept within the temperatures listed for the species you have chosen. An appropriately sized aquarium heater should be used to maintain proper temperature for your fish. Sudden drops in temperature should be avoided as they stress fish and weaken their immune systems. Almost all fish found at pet stores, aside from goldfish and koi, are tropical fish and require a heater in their aquarium. Keeping betta fish at room temperature (below 74 degrees Fahrenheit) is not healthy for the fish, they are tropical fish and should be kept around 78 degrees Fahrenheit. Being cold lowers their activity level and weakens their immune system, making it easier for them to get sick. |
How I Divided My Tanks
|
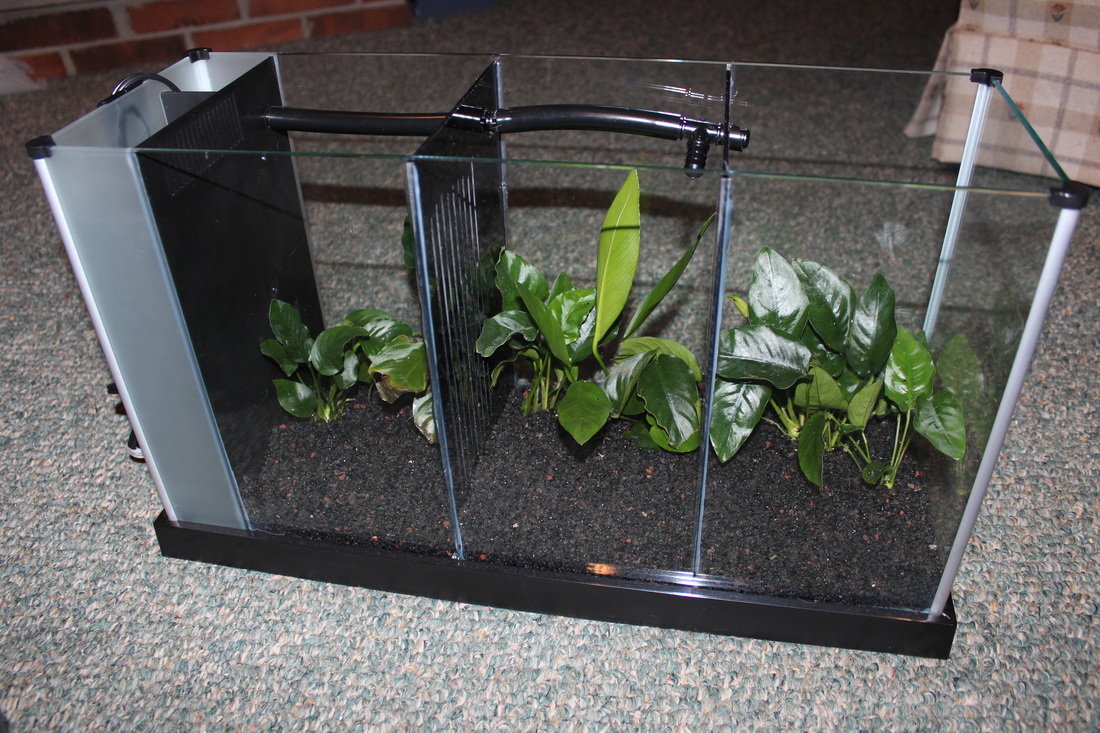
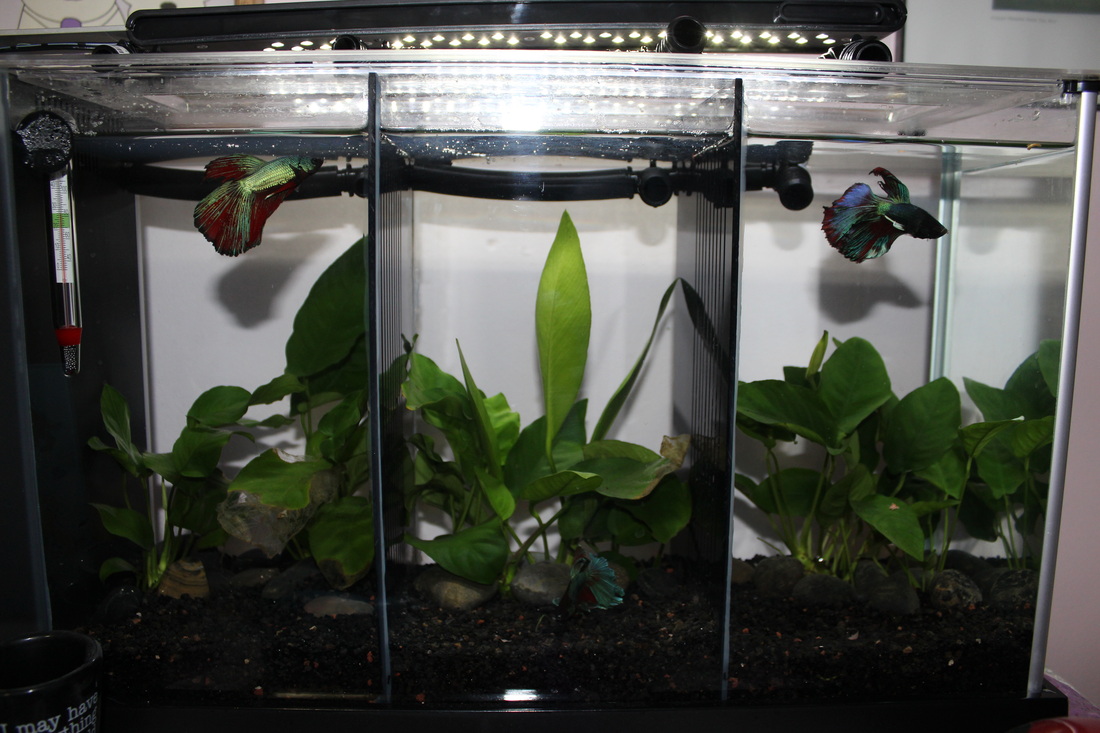
Here are the steps I took to build custom dividers for my Fluval spec 5 gallon tank.
I picked this tank because the long narrow shape leaves more room inside each division for back and forth swimming. The long opening in the top, directly under the light, also made it easier to feed the fish in each section compared to the Petco 6.6 gallon bookshelf tank I had originally considered. The LED light includes two blue LEDs for nighttime viewing. 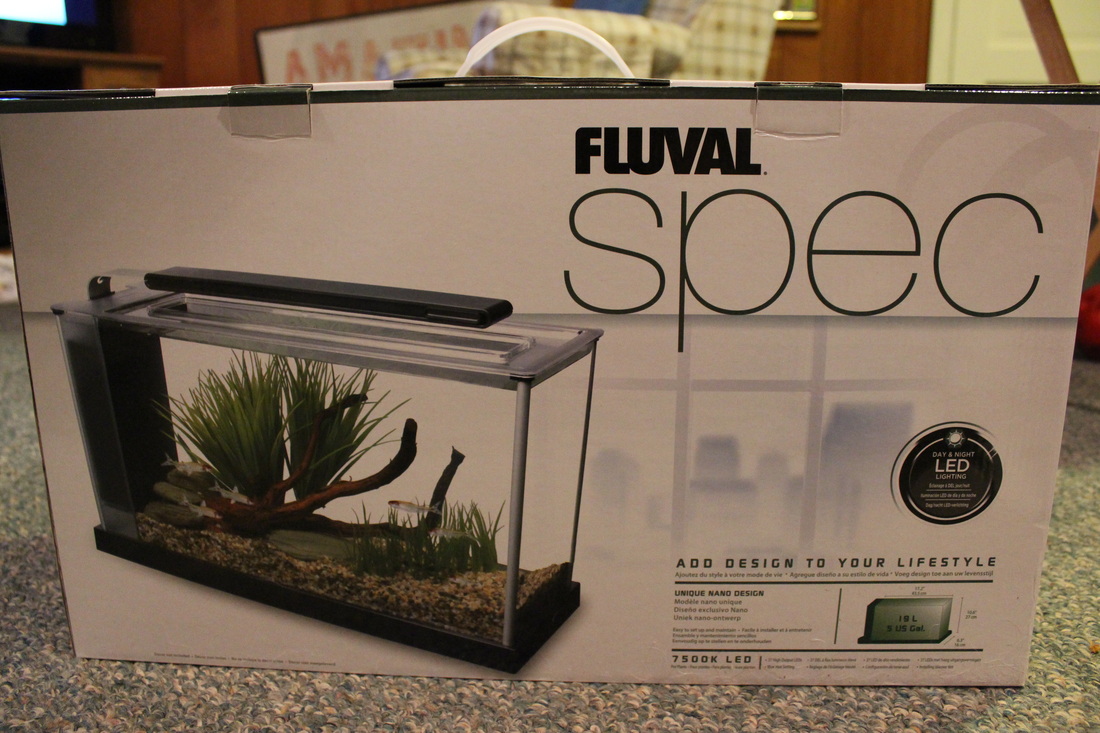
I decided to divide my tank into 3 sections, each planted and housing a betta fish. This division gave 1.67 gallons of water per fish, and 5.67 x 6.3 inches of horizontal swimming room.
|

White LEDs for day time
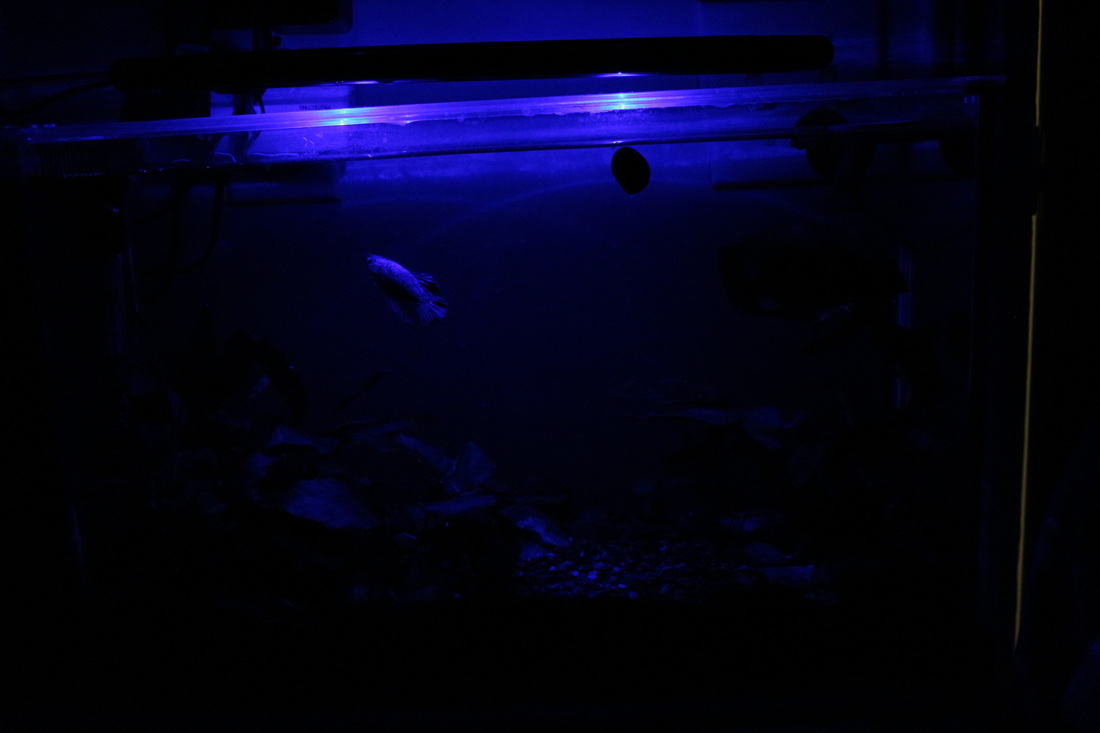
Two blue LEDs for night time
|

Built in filter and hole for water outflow tube.
|
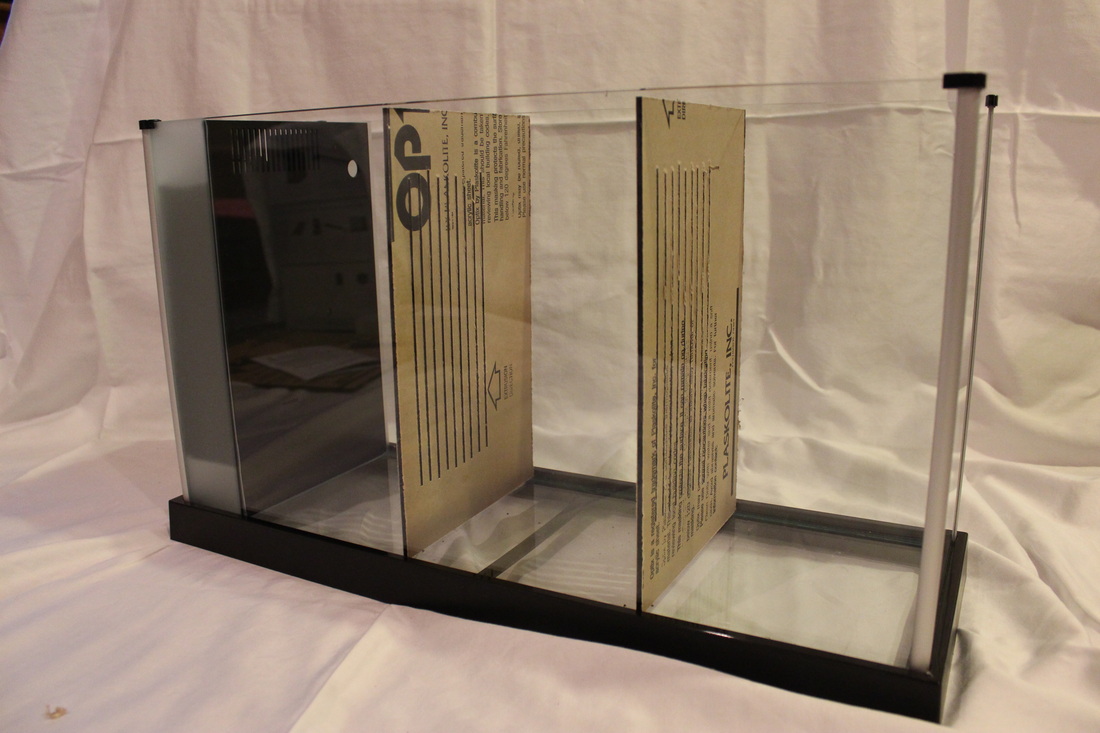
The Fluval spec tanks come with an excellent filter built in to the tank, behind a frosted glass section. Black acrylic serves as the divider from the rest of the tank, and includes water inflow slits and a hole for the outflow tube. On the left hand side is a sponge with cut outs for Fluval's carbon bag and a bag of biomax, which provide increased surface area for the growth of beneficial nitrifying bacteria. This is the bacteria that breaks down the ammonia that all fish excrete.
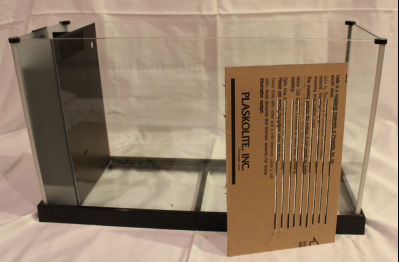
When cutting the acrylic for your dividers, first double check your measurements, and then leave the protective film on the sheets until you have finished with all of the cuts. Cut the pieces to size, then cut the slits that allow for water flow. I decided to have these on only half of each sheet for two reasons. Firstly, it creates areas with even less current which is beneficial for long-finned bettas. Secondly, this means it is only possible for the bettas to see each other in half of their section while being able to completely avoid each other in the other half. |
Cut to size with slits
|
|
Place the dividers in the tank to make sure they fit, then slide each piece individually up to the filter piece and trace the hole for the outflow pipe to ensure it is placed correctly before you cut it.
|

Murphy wasn't as excited about my project as I was.
|
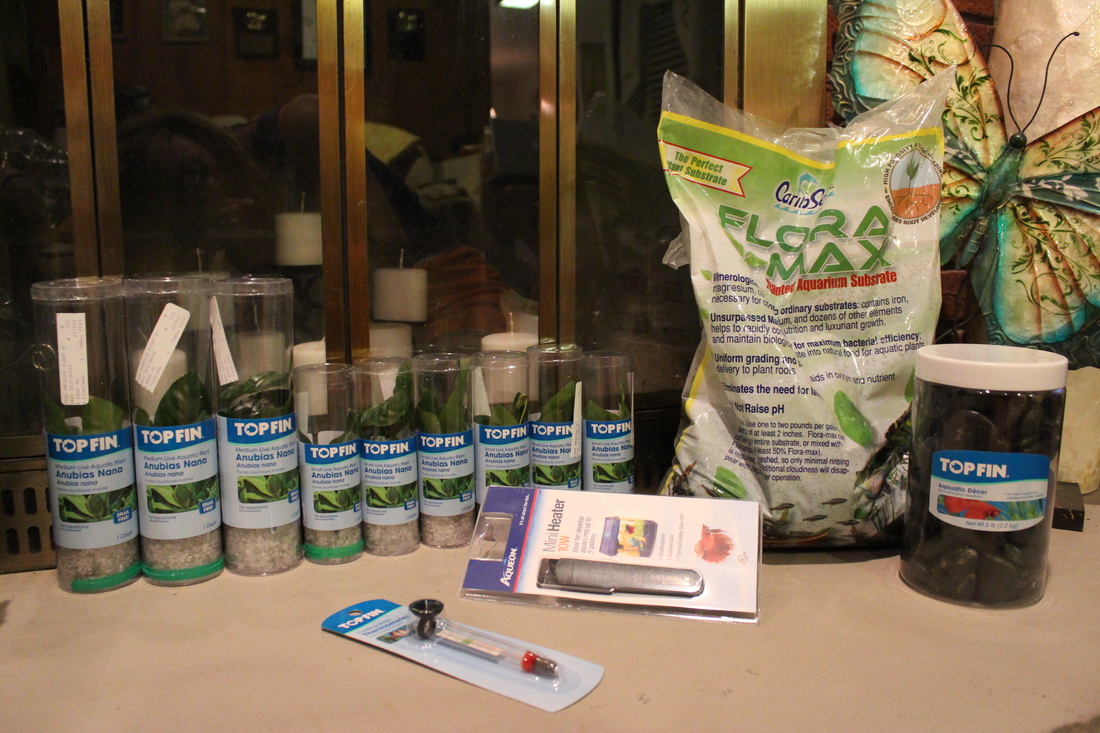
Below is a picture of what I use to fill each tank. The Aqueon 10W MiniHeater fits perfectly into the right compartment in the Fluval Filter Box, where the pump is. First use the slider on the filter pump to adjust the flow rate to the lowest setting, then insert it, followed by the heater. Do not turn either on until after the tank is filled with water. The thermometers should also be inserted after the tank is filled, the suction cup will not stick well otherwise.
For each of the three sections I used:
The Anubias plants grow very well in any light condition, are rather hardy, and I have always had good luck with them. Given enough light they even flower! I prefer the Nana because of their broad round leaves (though I sometimes use the Congenesis). These tend to be the best for fish, and Dwarf Frogs, to hide amongst and sit on.
For each of the three sections I used:
- All black FloraMax substrate, it also comes in mixed black and reddish brown.
- Black river rocks
- 1 Medium Anubias Nana plant
- 2 Small Anubias Nana plants
The Anubias plants grow very well in any light condition, are rather hardy, and I have always had good luck with them. Given enough light they even flower! I prefer the Nana because of their broad round leaves (though I sometimes use the Congenesis). These tend to be the best for fish, and Dwarf Frogs, to hide amongst and sit on.
|
|
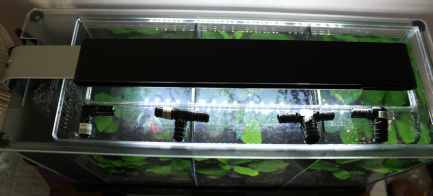
Originally I did not have the water flow directly into the section closest to the filter, but that resulted in a stronger current in the last section than I wanted. By having the water flow directly into each division there is a much weaker current in each section, which is best for bettas.
|
These are the pieces used to connect the tubing between each section, shown at the location for each piece. The outflow hole for the first division should be smaller than the other two, otherwise it will have a strong current and very little water will flow into the last division.
|

|
|
I use Groupon and love it, but I do not endorse the individual deals shown.
|
Click here to make a website of your own!
I use iPage to host my website, and I am very happy with the service. The Weebly Drag and Drop Site Builder lets me create custom pages with no experience, and the support staff is helpful and patient. Hosting at iPage is affordable, even with the upgrade that allows me to create and display unlimited pages with their site builder software.
Disclosure: I do receive payment if you open an iPage account by following this link. The iPage Affiliate program allows me to earn money through referrals, which I use to develop and post the educational resources on this site free of charge. |
|
Please let me know how you used these resources; if they were used in the classroom to help cover State Standards, if they were used at home, or if they were used in another setting. I welcome any other constructive feedback or ways you adapted them to meet your needs, responses do not need to be long to be helpful.
|
 Pet Information - Dividing Fish Tanks by Caitlin Kempski is licensed under a Creative Commons Attribution-NonCommercial-ShareAlike 3.0 Unported License. This license means that you can remix, tweak, and build upon my work non-commercially, as long as you credit me and license any new creations under these identical terms.
The above information is intended to be a resource for educators and can be used freely, so long as I am credited and you are not selling it in any way. Handing it out to students of any age, as is or in an edited form, is acceptable and encouraged. Just include the link to this webpage and identify it as your source. If you post it on your website, be it personal or school affiliated, it must also be credited to me and grant people identical terms of use. Thank you for your cooperation and please email me with any questions at bycaitlin@gmail.com. License terms can be found here http://creativecommons.org/licenses/by-nc-sa/3.0/ |